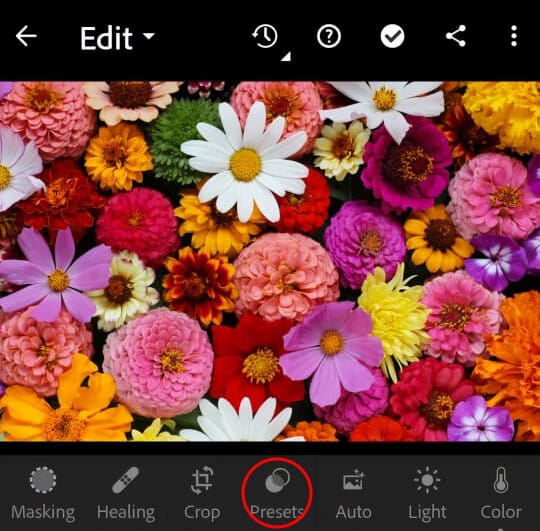
Step 1: Access the Presets Panel
Open the Lightroom mobile app on your Android device and choose a photo you want to edit. Tap on the Presets icon located at the bottom of the screen to access the Presets section.
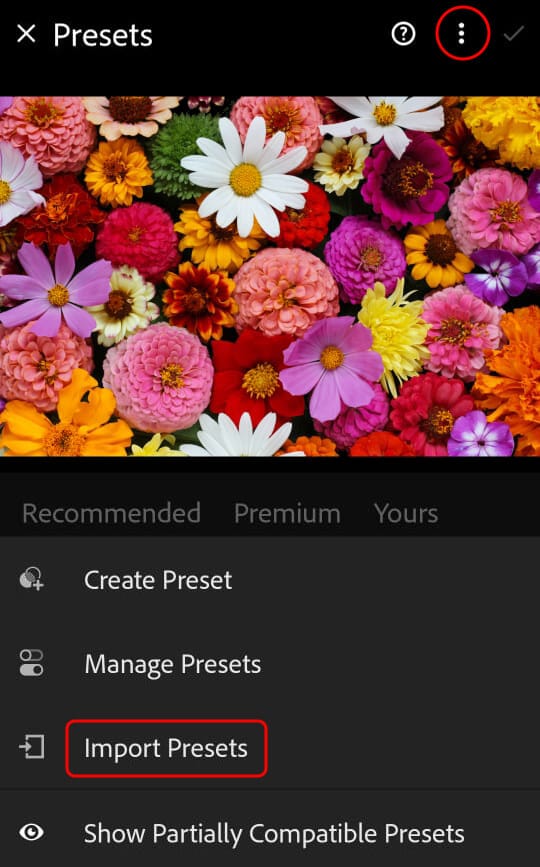
Step 2: Access Import Presets Option
Within the Presets section, locate the panel menu icon represented by three dots (⋮) in the top-right corner. Tap on it to open a dropdown menu. From the menu, select “Import Presets” to proceed.
Step 3: Import Presets
In the Import Presets screen, you can import either “.xmp” or “.zip” files containing the Lightroom presets. Tap on the file format you have available and navigate to the folder where the preset file is saved on your device. Select the preset file to initiate the import process.
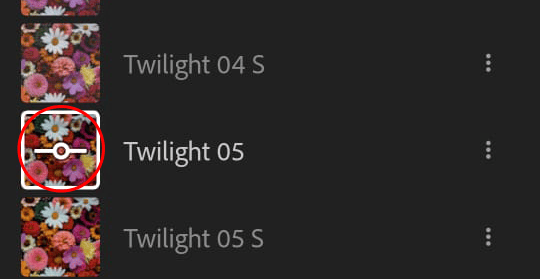
Step 4: Apply the Desired Preset
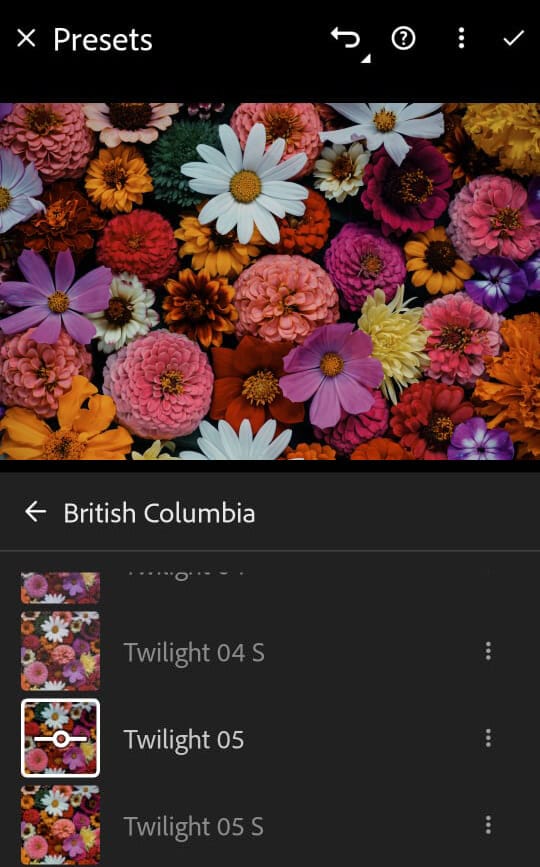
Once the presets are imported, you will see them appear in the Presets section. Browse through the presets and tap on the one you wish to apply to the current photo. Lightroom will automatically apply the selected preset’s adjustments to your photo.
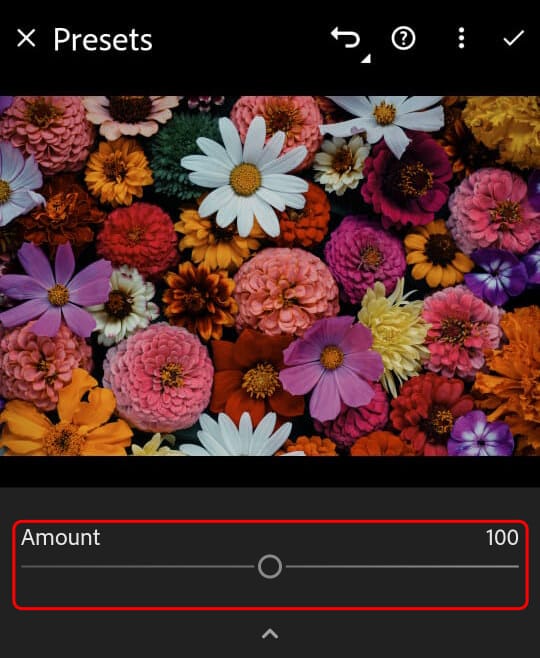
Step 5: Adjust Preset Amount
To fine-tune the effect of the applied preset, tap on the amount slider icon located within the editing tools. By dragging the amount slider left or right, you can adjust the intensity or opacity of the preset effect.